How Many Coats of Bathroom Waterproofing Are Enough?
Getting bathroom waterproofing right matters more than most homeowners realize. Too few coats and you risk leaks, mold, and costly repairs down the line. Too many coats and you could end up with cracking or peeling. An experienced waterproofing company knows how to strike that balance based on your specific bathroom setup. This post covers the factors that determine how many coats you need, the best application techniques, and warning signs that something's gone wrong.
Importance of Multiple Coats
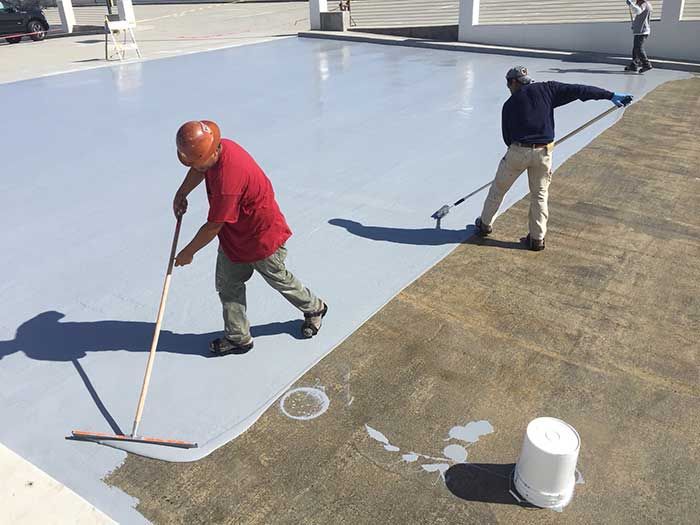
Applying several layers of waterproofing material gives your bathroom the best shot at staying dry and damage-free. Each layer adds thickness to the waterproofing barrier, making it harder for water to get through. Multiple coats create overlapping protection that strengthens the entire system and reduces the risk of leaks or seepage. This layering approach also fills any gaps or weak spots left by the first coat, giving you more complete coverage. By using multiple layers, you build a waterproofing system that lasts longer and holds up better against moisture over time. If you want solid protection for your bathroom surfaces, applying more than one coat is a step you shouldn't skip.
Factors Influencing Coat Number
Several things determine how many coats your bathroom waterproofing needs. The surface material plays a big role since different materials absorb products differently and affect how well the coating sticks. Product specs matter, too. The concentration of active ingredients and how thick you apply each coat will affect the coverage you get. Environmental stuff like humidity and temperature also comes into play because it affects how fast each layer dries and cures. Understanding these factors helps you figure out the right number of coats for a waterproofing system that actually holds up.
Recommended Application Techniques
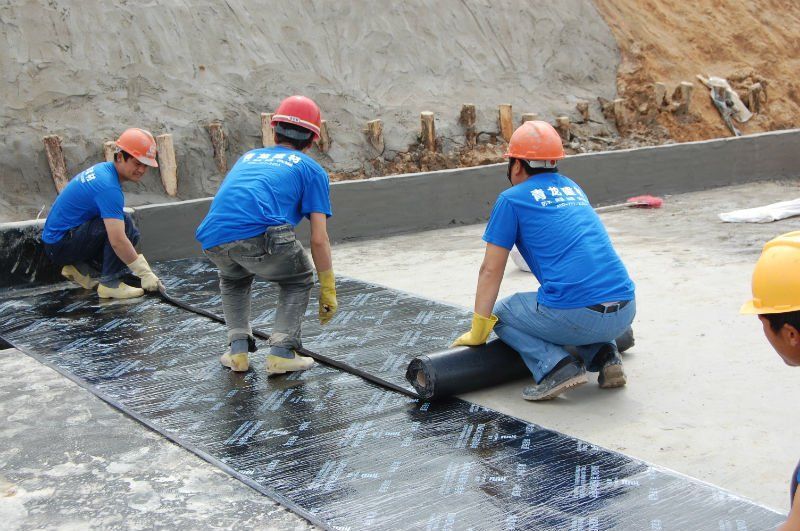
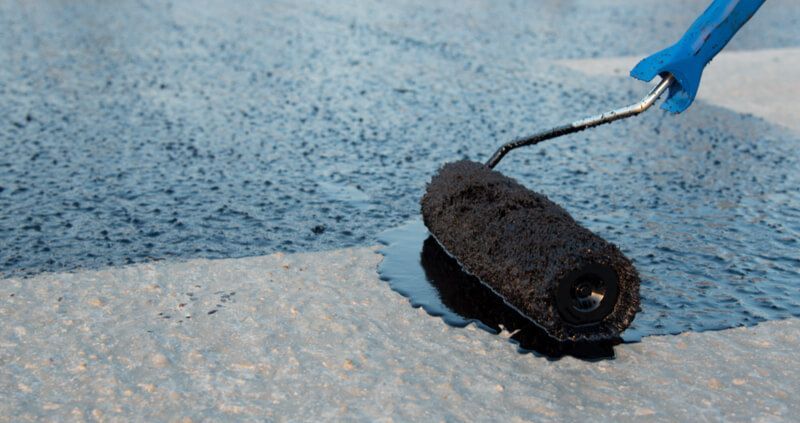
To get the best protection and longest-lasting results from your waterproofing, you need to follow the right application methods. Here are the key techniques to keep in mind:
- Proper Surface Preparation: Clean and dry the surface thoroughly before applying any waterproofing materials.
- Uniform Application: Spread the product evenly across the entire surface to avoid creating weak spots.
- Overlap Seams: Overlap seams by the recommended amount so water can't seep through.
- Follow Manufacturer's Instructions: Stick to the manufacturer's guidelines for application and drying times.
- Use Quality Tools: Good brushes, rollers, or sprayers make a real difference in getting precise, effective coverage.
Signs of Insufficient Waterproofing
When waterproofing isn't done right, you'll start seeing problems. Peeling paint, mold growth, and water stains on walls or ceilings are all signs that water has gotten past the protective barrier. Peeling paint usually means water is seeping through and breaking down the paint's grip on the surface. Mold loves moisture, so if you're seeing it grow, that points to water getting in where it shouldn't. Water stains are a dead giveaway that your waterproofing is failing. Catching these signs early helps you avoid bigger structural damage and expensive fixes later. Proper waterproofing from the start keeps your bathroom surfaces intact and saves you money.
Risks of Overdoing the Coats
Piling on too many coats can backfire, creating new problems. When you go beyond what the manufacturer recommends, here's what can happen:
- Cracking: Too many layers can dry and cure unevenly, resulting in surface cracks.
- Peeling: Overdoing it may cause the waterproofing membrane to peel off, leaving spots exposed to moisture.
- Inadequate Adhesion: Extra coats can stop layers from bonding properly, weakening the whole system.
- Increased Drying Time: More coats mean longer drying time, which can delay the rest of your project.
- Waste of Resources: Unnecessary coats waste materials and drive up labor costs without giving you any extra benefit.
Expert Tips for Effective Waterproofing
Want solid waterproofing results? Start with thorough surface prep, remove old sealant or grout, and clean everything well. Pick a quality waterproofing product that matches your bathroom surfaces, whether that's tile, concrete, or drywall. When you apply the material, pay extra attention to corners, seams, and joints, as these are the spots where leaks are most likely to occur. Let each coat dry completely before adding the next one so everything bonds and covers properly. For high-risk areas, consider adding reinforcing materials, such as fiberglass tape, for extra strength. Following these tips will help you get waterproofing that actually does its job.
Related Topics:
You might also like